


The plan in one line each
Day 1. Pick the template and write the hero.
Day 2. Write all the copy in a plain document.
Day 3. Lock the brand color, fonts, and photo direction.
Day 4. Build the homepage in Framer.
Day 5. Polish images, motion, and mobile.
Day 6. Build the secondary pages and set up the CMS.
Day 7. Titles, meta, domain, launch.
Most website projects run long, and it is rarely because the work is hard. It is the lack of structure. Every choice becomes a debate with yourself, every section gets redone two or three times, and the launch date slides from week two to week six without anyone deciding that it should.
That is avoidable. One focused week is enough to take a freshly bought Framer template to a live site that does real commercial work. The people who manage it are not more talented than the ones who stall for months. They know what to decide on which day, they protect the schedule, and they ship a good version instead of waiting on a perfect one.
I build Framer templates, so I have seen this go both ways many times. Here is the seven day plan I would hand a founder, freelancer, or small team. It assumes about half a day of focused work per day, which is realistic alongside other responsibilities, and a full time week finishes sooner.
Each day ends with a short checklist of what people most often miss. It is universal to any Framer template, so skip anything that does not apply to your project.
Day 1: Choose the template and write the hero
Two jobs today. First, pick the template, and give it two hours, not two days, because the perfect choice does not exist and the good enough one is right in front of you. Match it to the single most important thing the site has to do, not to which one looks nicest.
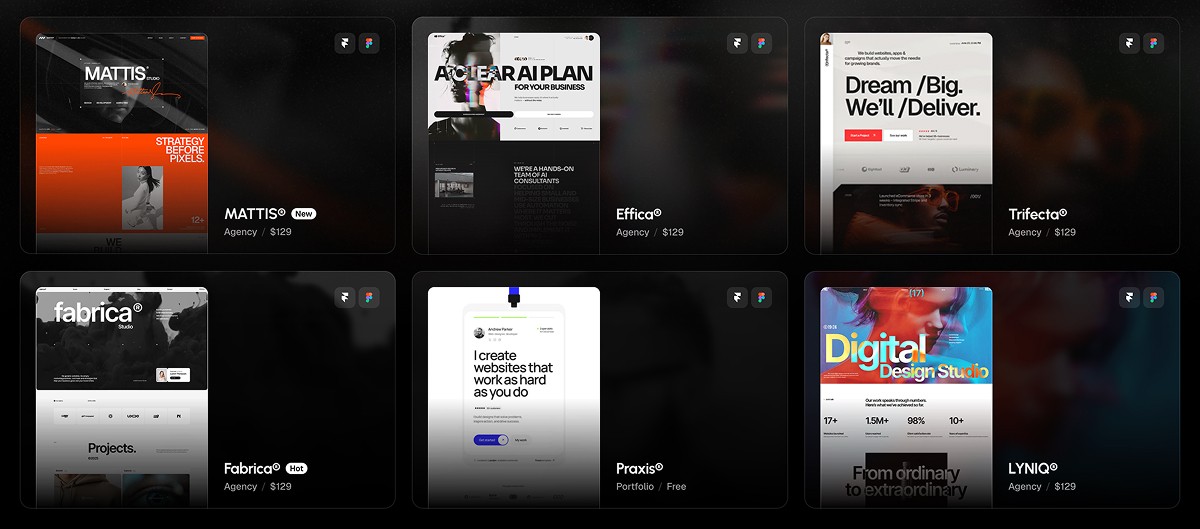
If you want a steer, Fabrica suits a studio or portfolio that leads with work, Mattis fits a full agency or dev shop site, Lyniq is for a design agency that needs clients, Trifecta is the one with the standout sidebar, Praxis is the clean free portfolio, and Captured is for visual heavy work. I compared all of them in a full rundown for developers if you want the longer version. Once you choose, buy it, remix it into your workspace, and stop thinking about template choice, since reopening that later is a reliable way to lose a week.
Second, write the hero headline and subhead. It is the most important copy on the site, and writing it first forces clarity about what the site even is. Do not move on until the hero says, in one sentence, what this is and who it is for.
Day 2: Write the rest of the copy
Day two is a writing day, not a Framer day. Open a plain document and write copy for every section: services or features, about, social proof, your call to action, and any case study summaries. Write a little long, since cutting is easier than expanding.
This is the day founders try to skip, planning to write in place while they customize. That shortcut is the most common reason a one week build turns into a four week one. Drafting the copy first, as a full draft, saves more time than it costs.
Day 2 checklist
Replace every piece of placeholder text with your own.
Remove any Lorem Ipsum or leftover dummy text.
Run spelling and grammar through Grammarly, where the free plan is enough, or through ChatGPT.
Day 3: Brand and type decisions
Day three is for the visual calls that spread across every page. Lock a primary brand color and one or two accents, choose your display and body fonts, and check they read well at the sizes the template actually uses. Decide your photography direction too, whether that is editorial stock, product shots, abstract imagery, or none at all.
Make these calls before you touch the canvas, because everything after depends on them. Changing your brand color on day six is how an eight day project becomes a sixteen day one.
Day 3 checklist
Swap the header logo for your own.
Set your brand colors in Framer's Styles panel, which updates them across the whole site at once.
Create a favicon for free at Favicon.io, then upload it in site settings. This is the small icon in the browser tab.
Add a social preview image in site settings at 1200×630px. This is what shows when your link is shared.
Check how the link previews when shared using Metatags.io.
Day 4: Build the homepage in Framer
First real Framer day. Apply the colors and fonts from yesterday, paste in the copy from day two, and work top to bottom without doubling back to earlier sections. Let the first pass be rough, since the goal is every section filled with real content, not polished.
By the end of the day the homepage should feel like the right site. One rule that helps: resist adding sections that are not in the template. That architecture is part of what you paid for, and bolt ons usually weaken the design more than they help.
Day 5: Polish images, motion, and mobile
Day five is the quality pass, and it decides a lot of the final impression. Swap placeholder images for real ones, confirm your animations still work after editing, then check tablet and mobile for the spots where real copy does not fit as cleanly as the placeholder did.
It is unglamorous work, tightening a headline that wraps badly or replacing an image that crops wrong on a phone. However, this is what separates a templated site from a finished one, so do not rush it.
Day 5 checklist
Replace the demo images with your own, and keep any you like, since they are royalty free.
Match resolution to use, so no 4000px image for a small icon and no 200px image for a large card.
Keep full screen backgrounds around 1920px wide, since oversized images are the biggest performance killer.
Export smaller elements at 2x their display size for retina screens, but no more.
Add alt text to every image, which helps both accessibility and SEO.
Compress any heavy background video.
Confirm hover and scroll animations still work after your edits.
Preview desktop, tablet, and mobile in Framer, then open the site on your actual phone, since the preview is not always exact.
Check that nothing overflows or gets cut off, and that buttons are large enough to tap.
Test on both iPhone and Android if you can, because Safari and Chrome render differently.
Day 6: Secondary pages, CMS, and forms
Day six is everything that is not the homepage: about, case study pages, contact, and any blog scaffolding. Most premium templates ship with CMS collections that make this faster than it sounds. Set up two or three real entries so the site launches with actual content, since empty CMS pages read as unfinished even when the homepage is flawless. This is also when you wire up forms, because a contact form that sends to the template creator instead of you is a bad thing to discover after launch.
Day 6 checklist
Add all your real content: blog posts, projects, team members, and so on.
Delete any demo CMS items you do not need.
Open a few CMS item pages to confirm they display correctly.
In Form Settings, connect your own email so submissions reach you and not the template creator.
Submit every form with real data, then check your inbox to confirm the test arrived.
Test forms on mobile, where inputs should be easy to tap and use 16px text so the screen does not zoom.
Submit a form with missing fields to confirm validation works.
Day 7: SEO, domain, launch
Day seven is launch day. Write clear titles and meta descriptions for every page, add Open Graph images so the link previews well, and connect your custom domain, which on Framer needs a paid plan, so sort that out before you are mid launch waiting on it.
Then check the site on a real phone, a tablet, and two desktop browsers, and publish. Send the link to a few people you trust, just to catch anything obviously broken. Iteration starts the next day, based on how real visitors behave rather than your pre launch taste.
Day 7 checklist
Click every link in the main menu, the mobile menu, the footer, and every button on every page.
Confirm your social icons point to your real profiles.
Scan for broken links with a tool like Dead Link Checker.
Set external links to open in a new tab.
Give every page a unique title under 60 characters.
Write a unique meta description under 160 characters for every page, since this is what shows in Google results.
Keep URLs clean, like /about instead of a long auto generated slug.
Confirm your meta tags are set up correctly with Metatags.io.
Add an llms.txt file to help AI crawlers, following Framer's guide.
Set up Google Analytics, then visit your own site and watch the real time report to confirm tracking works.
Add a Privacy Policy page, which you can generate free at Termly or FreePrivacyPolicy.
Add a Terms of Service page if you sell anything, and link both from the footer.
Add a cookie consent banner if you get visitors from Europe.
Test in Chrome and Safari, then open the site in incognito to see what a first time visitor sees.
Confirm there is a 404 page for mistyped URLs, which most templates include.
Connect your custom domain following Framer's guide, and confirm the site loads over https.
Test the live site on the new domain.
Submit the site to Google Search Console and Bing Webmaster Tools so they find it faster.
Share the launch and ask a friend for honest feedback.
Check Analytics again after a few days to confirm tracking is holding.
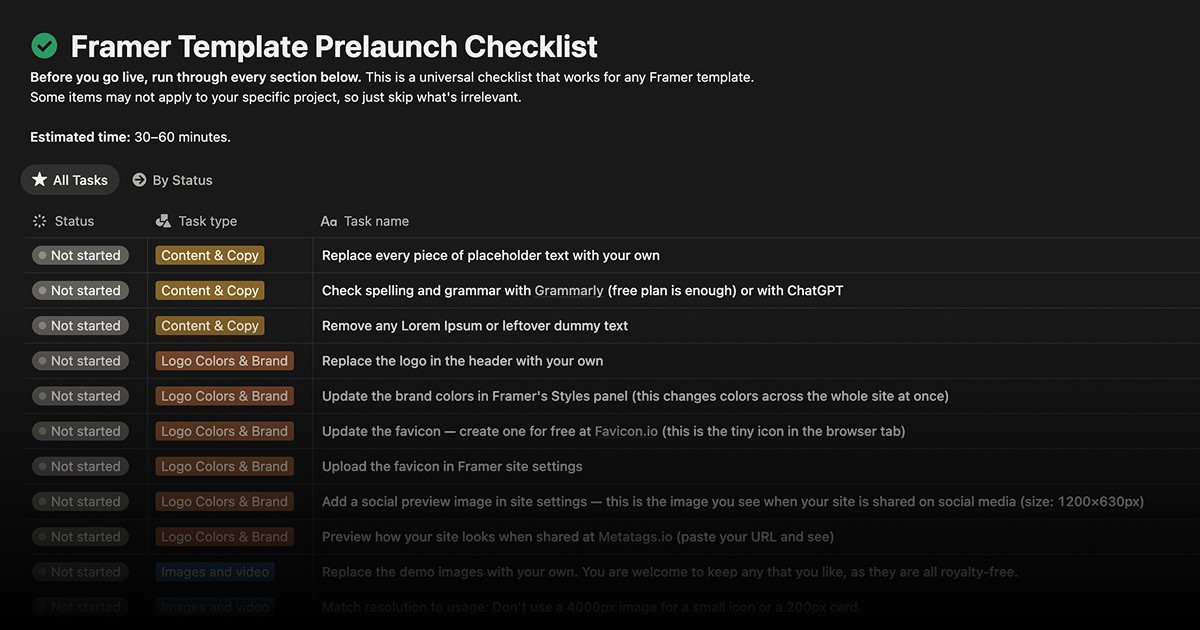
The full launch checklist
The daily lists above come from a longer, universal pre launch checklist that works for any Framer template, covering content, branding, images, links, forms, responsiveness, SEO, legal pages, and the launch itself. Some items will not apply to your project, so skip what is irrelevant.
You can open the full checklist here, with every step and the free tools for each one in a single list you can work straight through.
A short FAQ
Can I really do this in a week with a day job? Yes, if you keep to about half a day each day and do not reopen decisions you already settled. The plan is built around part time hours, and a full time week just finishes sooner.
What if I fall behind? Cut scope, not quality. Push a secondary page to next week before you let the homepage ship rough, since most sites do not need every page live on day one.
Do I need to know how to code? No. Framer is visual, so the whole plan runs in the editor. Knowing front end only helps if you want to push past what the template gives you.


